.png)
Faaf2qgwtaFum78U8TdEPnUd4u7HPk65cdaFj7KbEA6wi2Y
HRMhY2CtVMp2yVSieKvq8Y8FHAhRKrGGMd6MoQe3iN6uJ2D
FiBHHbxDiVysvn5YBV78YFVUUykZRfQYhjxymu8VXnTqNMr
DriCrAgdVV57NeQm5bWn5KQpVndVnXnm55BjRpe6qzZ5ktJ
GcqKn3HHodwcFc3Pg3Evcbc43m7qJNMiMv744e5WMSS7TGn
In this step-by-step guide, you will learn how to stake your KSMs, the native token of the Kusama blockchain, using Polkadot JS and the Polkadot Browser Extension. You will go through the following key steps:
Since it is recommended by Polkadot / Kusama for most users to use the Polkadot.js Browser Extension to create their addresses, we are focusing on this method. In case you want to explore alternatives, have a look here.
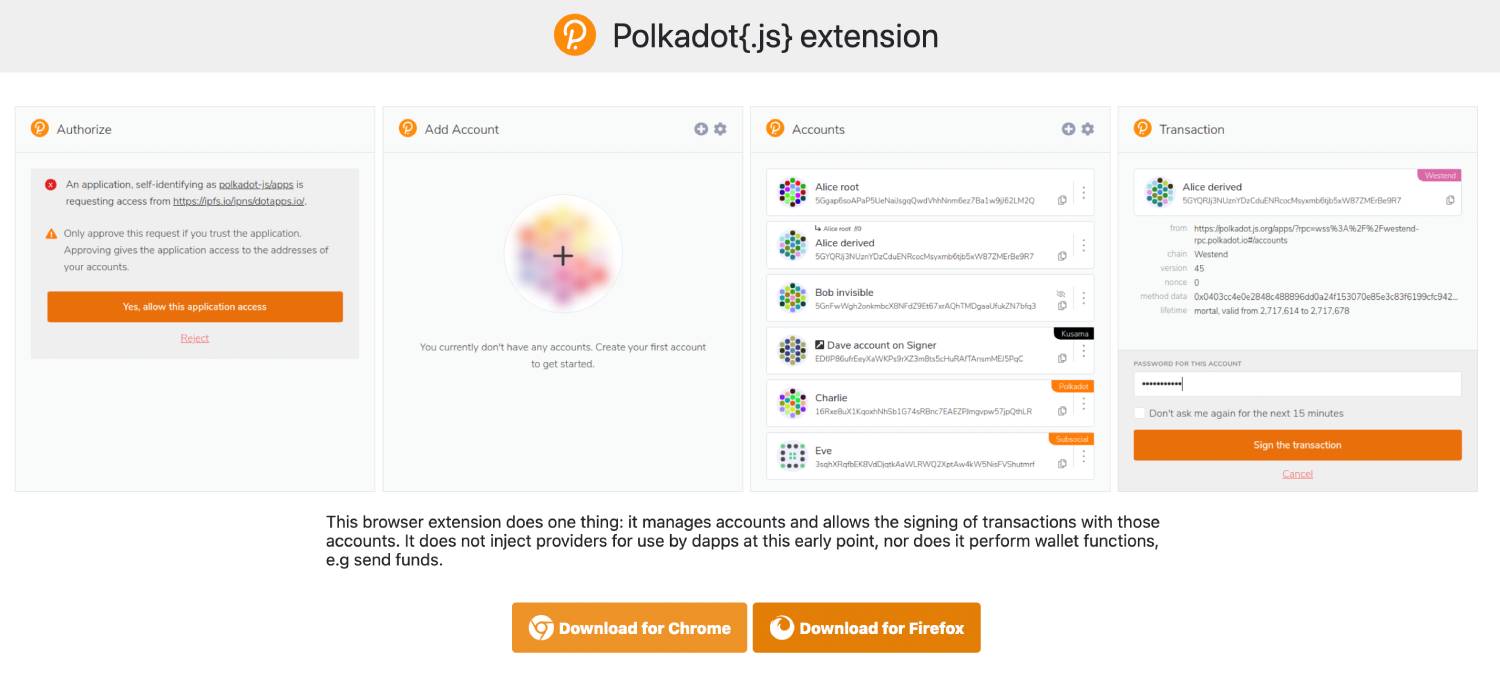
Make sure to install the Polkadot.js Browser Extension before you get started. You can download the extension for Chrome/Brave and FireFox.

Once you successfully installed the extension, click on the icon for Poladot extension - a P button in your browser bar to open the interface. You will be prompted to create an account if you don't have one already.

Click the little Gear Icon in the upper right corner and choose Kusama Relay Chain under Display Address Format For.
Then, click on the + Icon followed by Create new account. Uncheck the box next to “Derive new account from existing” & click “Create an account from new seed”.


Write down your mnemonic seed phrase and securely store it. Whoever has access to the mnemonic seed also has access to your funds! Check the box on the bottom and click “Next step”. Choose a descriptive name for your Stash account as well as a strong password. Then click “Add the account with the generated seed”.
Never share your Mnemonic Seed Phrase!
Congratulations, you have successfully created your Kusama account. You will now also find the address on the Polkadot JS Website under “Accounts” — reload the page, if this is not the case. You can now fund this account.

In order to successfully bond your funds and nominate your validator set, you need a separate account, namely your Controller Account. You will perform everyday staking operations like changing validators or claiming rewards using this account.
To create your Controller Account, use the Polkadot browser extension. Click the plus icon in the top right corner. Then click Create new account.
Now you have two options:
The second option is preferable because this lets you have independent keys. So, click Create new account.

Congratulations, you have successfully created your Kusama Controller account. You will now also find the address in Polkadot JS under Accounts — reload the page if this is not the case.

On the Polkadot JS website, make sure that you are connected to the Kusama mainnet. You can change the network by clicking the network symbol in the top left corner of your screen.

Polkadot JS supports several networks, make sure to choose “Kusama” before you continue
Before starting the Nomination process, send some funds from your Stash to your Controller account in order to cover transactions fees (1 or 2 KSM should be plenty).
To start the staking process, click “Staking” in the “Network” drop-down menu.

Afterward, visit the “Account actions” tab and click the “+ Validator” — button.

You can perform all staking operations under the Account actions tab in the Staking menu
Choose the Stash & Controller accounts accordingly, choose the amount of KSMs you want to use for staking under value bonded. Make sure to leave some funds in your Stash account. Bond a max. of 95% of your tokens so that you are still able to pay for transaction fees.
Choose a destination account for your rewards under payment destination.
Then click next to bond your token.

Make sure to leave some KSM unbonded, so that you can pay for the transaction fees
You can nominate up to 16 validators. Simply select the validators of your choice by clicking on them in the left box. You can unselect them from the right box by clicking on them again. Alternatively, you can also use the search bar at the top to look for specific validators by name or address.
4gF1YM8TioXtEPheVfA2XwqS4iMcwHXBXquwULxPbuvMv2Si
JLKcPk652UTtQfyrk7keyU6vqAEj5JXzDAvQdPxB1DJTnZ3
HRMhY2CtVMp2yVSieKvq8Y8FHAhRKrGGMd6MoQe3iN6uJ2D
Faaf2qgwtaFum78U8TdEPnUd4u7HPk65cdaFj7KbEA6wi2Y
EyibGsAttxpNBkgjMxNTArskxkdEFFbwghYuuaZyvu9rmo2

Then click Bond & Nominate.
Please note that you cannot specify the amount delegated to a particular validator. Your bonded DOTs will be spread out among the validators you selected according to the NPoS algorithm.

Choose your validators wisely — we recommend doing some research about them before your nomination
In the following window, click Sign & Submit. Afterward, enter your password and click “Sign the transaction” to conclude your nomination.

Almost done! The only thing left is signing the transaction!
Congratulations, you are now a Nominator on the Kusama network!
Your nominations will be effective in the next era (~ in up to 6 hours).
You can manage your staking operations with Polkadot JS. In the Staking menu, click Account Actions and then click the three dots on the very right to perform the following operations:

Please note that if you have bonded your tokens, a period of 7 days needs to pass before you can unbond. Once your tokens are unbonded, you need to issue another transaction, namely Withdraw Unbonded in order to be able to transfer your funds.
Understanding Active Nominations
Active nominations & Inactive nominations are the validators of your nominations that are currently in the active validator set. In general, your only one validator will be shown as active. That is because the algorithm used to distribute your stake is optimized so that each validator in the set roughly has the same amount of stake backing him/her. Your stake is therefore usually only backing one of the validators you nominated.
Waiting nominations are the validators that are currently not in the active set.